


Hilarie has recently written a book, Sew Bags, a guide to making purses, totes, clutches and much, much more. It’s a great book for beginners too as there are loads of practical tips and techniques that can be applied to many more sewing projects. She has nailed the detail in this book. Lots of questions answered and lots of top tips, I enjoyed the sections on colour, the design process and the mini pattern exercise (something I have never done but will endeavour to try!)
When learning to sewing, the best place to start is always a bag. As Hilarie is a sewing teacher herself, she gets it! I have always started with bag making when teaching a new student. Young and new sewers love a quick win!
What is also interesting about this book is Hilarie’s approach to evolving design. She wrote a really interesting blog post about “one size doesn’t fit all” recently, I applaud this. I think it is so important to be able to experiment with sewing patterns, to get the bag you really want and this book can certainly give you the basics to do just that.
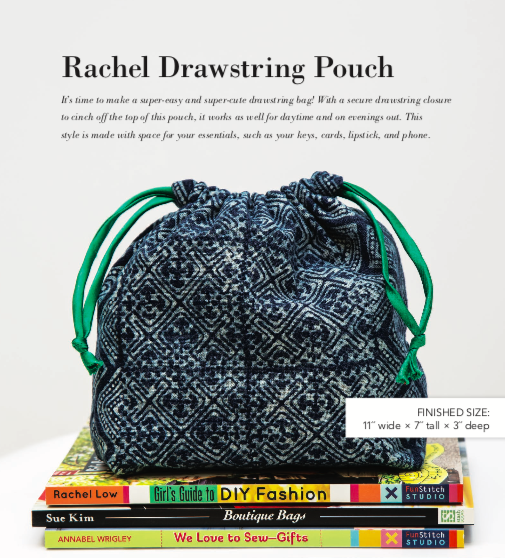
So where to start….Of course, it would be easy for me to make a zip purse, so I explored the book further and landed on the drawstring bag section and decided upon the Rachel (yep, each bag has it’s very own name!). It’s the kind of bag I would use for my Sashiko projects as I pretty much take a piece of Sashiko with me wherever I go.
The project:

I wanted to use a piece of Sashiko (of course). It’s a sample I made just prior to the launch of my XL Sashiko persimmon kits. The base fabric is a navy blue pre-stencilled cotton with Airforce Blue Sashiko thread. I love this combination.
I also found this lovely fabric to complement the Sashiko. A Kudo slub denim from Japan and a cotton check both scored at the remnant table at Tessuti Fabrics.

The Sashiko piece itself was too short for the pattern but the width was perfect. I decided to add the denim to the top of the bag to frame the Sashiko, then add some denim to the bottom to give it a sturdy base.

The whole sewing process was quick! The instructions are easy to understand and I whipped this up in a matter of hours.
The only thing I didn’t have was the cord – it’s a shame I didn’t have any emerald green cord – I love the cord in this book! So, instead I decided to make my own ‘drawstrings’ instead. I cut the check cotton lining fabric on the bias and made my own version.
So here it is…..
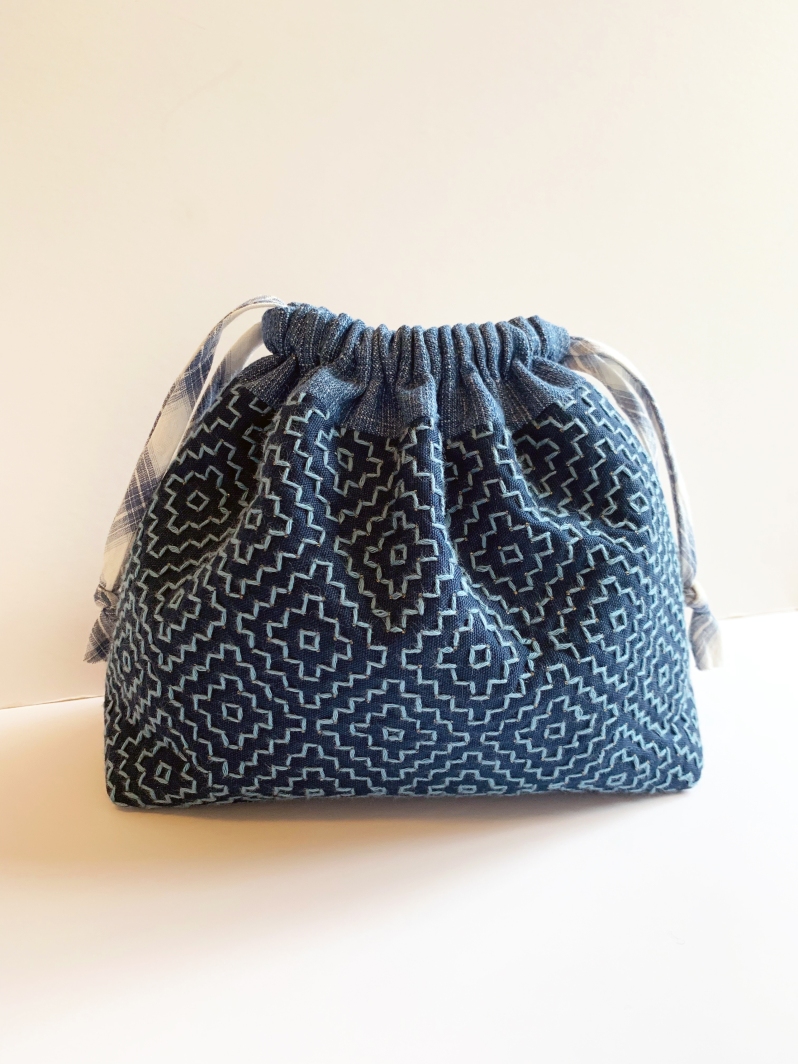


I am super pleased with the result. Of course, the denim is a little thicker than suggested, a lighter fabric would probably have worked better to get a tighter gather at the top. I am totally cool with that. The heavier fabric helps it sit really well unaided, without flopping over, so for my purposes, it’s ideal.

Hi. I like your fabric and I never thought of making my own strings! Thanks for the idea. How do I enter to win at each blog stop? I’m only seeing the C&T entry. Thanks.
LikeLike
Hello Holly, thanks for your comments. That’s a very good question. I assumed there were multiple copies available through the C&T entry, I will double check. Cheers Kate
LikeLike
There are multiple books available to win, you need to enter through C&T. Cheers Kate
LikeLike
Sweet little bag!!!
LikeLike